Getting Started
This is a quick-start guide that will help you install Tsuchinoko and explore a simulated adaptive experiment.
For more in-depth documentation for developing custom adaptive experiments see:
Install Tsuchinoko
To begin, you will need to install Python 3.12. It is generally recommended that you next create a virtual environment to contain the installation.
$ python -m venv tsuchinoko-venv
You will then need to activate the virtual environment. This varies by operating system.
Platform |
Shell |
Command to activate virtual environment |
|---|---|---|
POSIX |
bash/zsh |
$ source tsuchinoko-venv/bin/activate |
fish |
$ source tsuchinoko-venv/bin/activate.fish |
|
csh/tcsh |
$ source tsuchinoko-venv/bin/activate.csh |
|
PowerShell Core |
$ tsuchinoko-venv/bin/Activate.ps1 |
|
Windows |
cmd.exe |
C:> tsuchinoko-venv\Scripts\activate.bat |
PowerShell |
PS C:> tsuchinoko-venv\Scripts\Activate.ps1 |
With the virtual environment active, you will then install Tsuchinoko:
$ pip install tsuchinoko
Tsuchinoko should now be installed! You can run the Tsuchinoko client to quickly test the installation. Note that a running Tsuchinoko server will be needed to run any experiment.
$ tsuchinoko
According to your preferences, components of Tsuchinoko can also be distributed across multiple systems to accommodate a distributed design which leverages different hardware resources. If you plan to do this, you’ll need a Tsuchinoko installation on each system.
Did something go wrong? See Installation Troubleshooting.
Running Tsuchinoko with a Simulated Experiment
Let’s try out a simulated adaptive experiment now! In this example, Tsuchinoko will adaptively sample data from a source image to create a reconstruction by simulated measurements. You’ll need the server example script and an image to be sampled from. Download both of these files. We’ll discuss the contents of the example server script later.
With the virtual environment active and both these files in the current directory, start the Tsuchinoko core server:
$ python server_demo.py
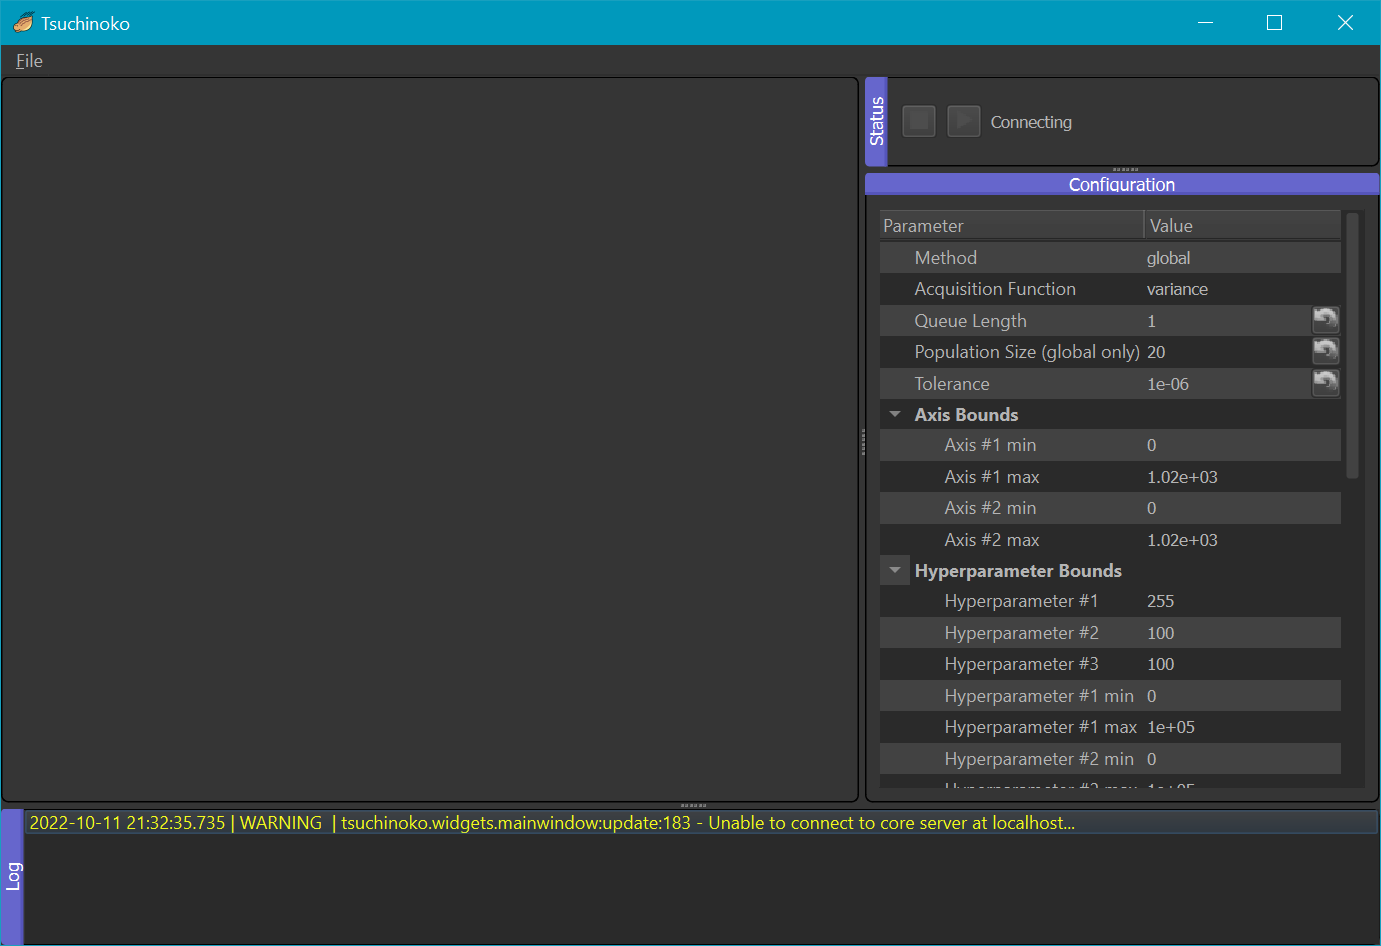
The core server will wait for a client to connect. Now, start a Tsuchinoko client in another shell:
$ tsuchinoko
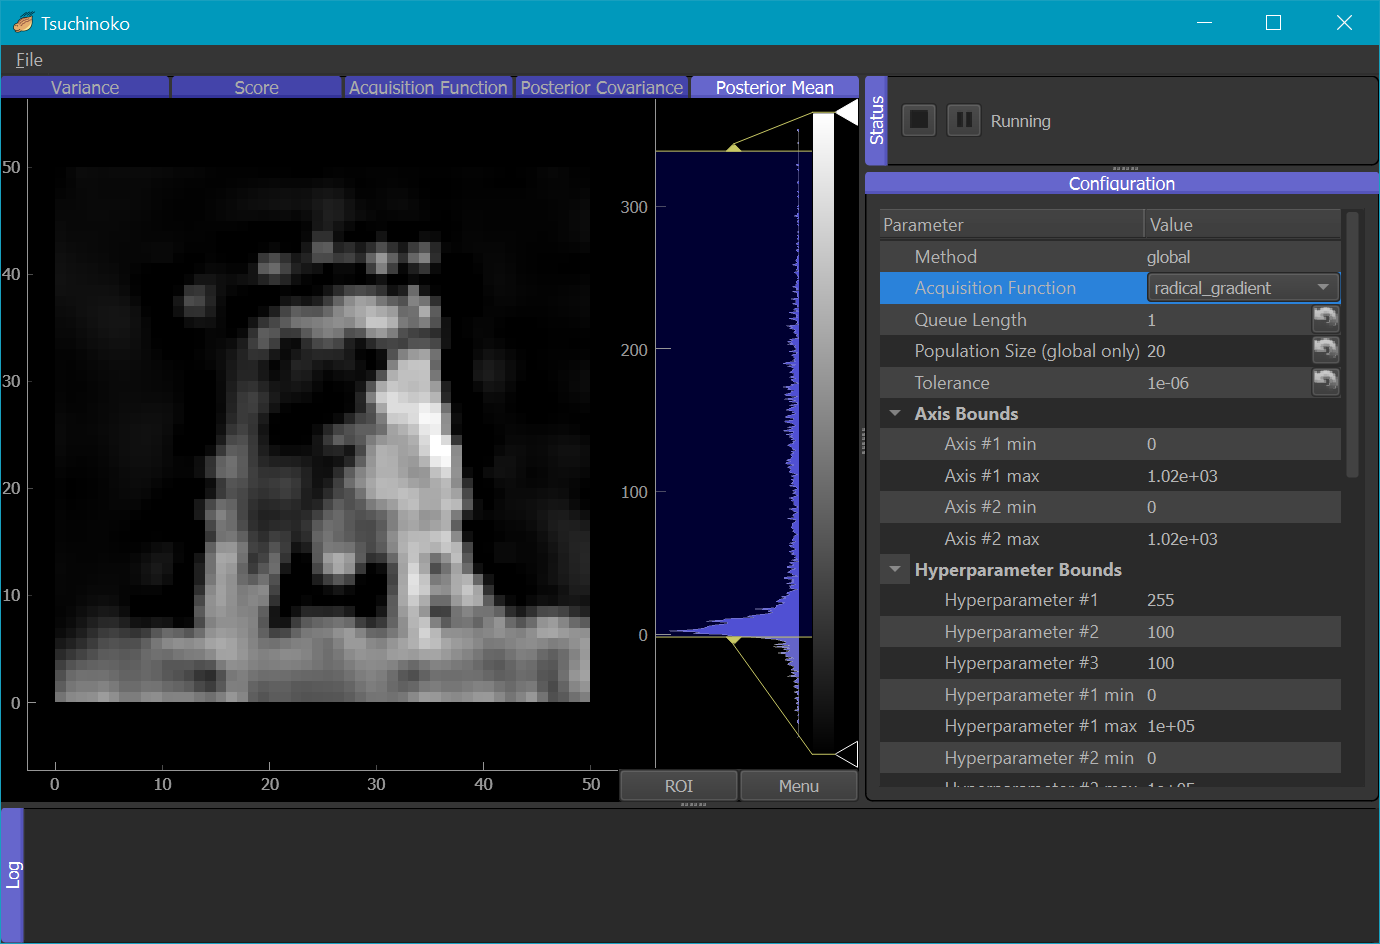
The client will automatically connect to the server. From the parameter table on the right, select an Acquisition Function to test (try starting with gradient).
To start the experiment, click the ‘run’ (▶) button.
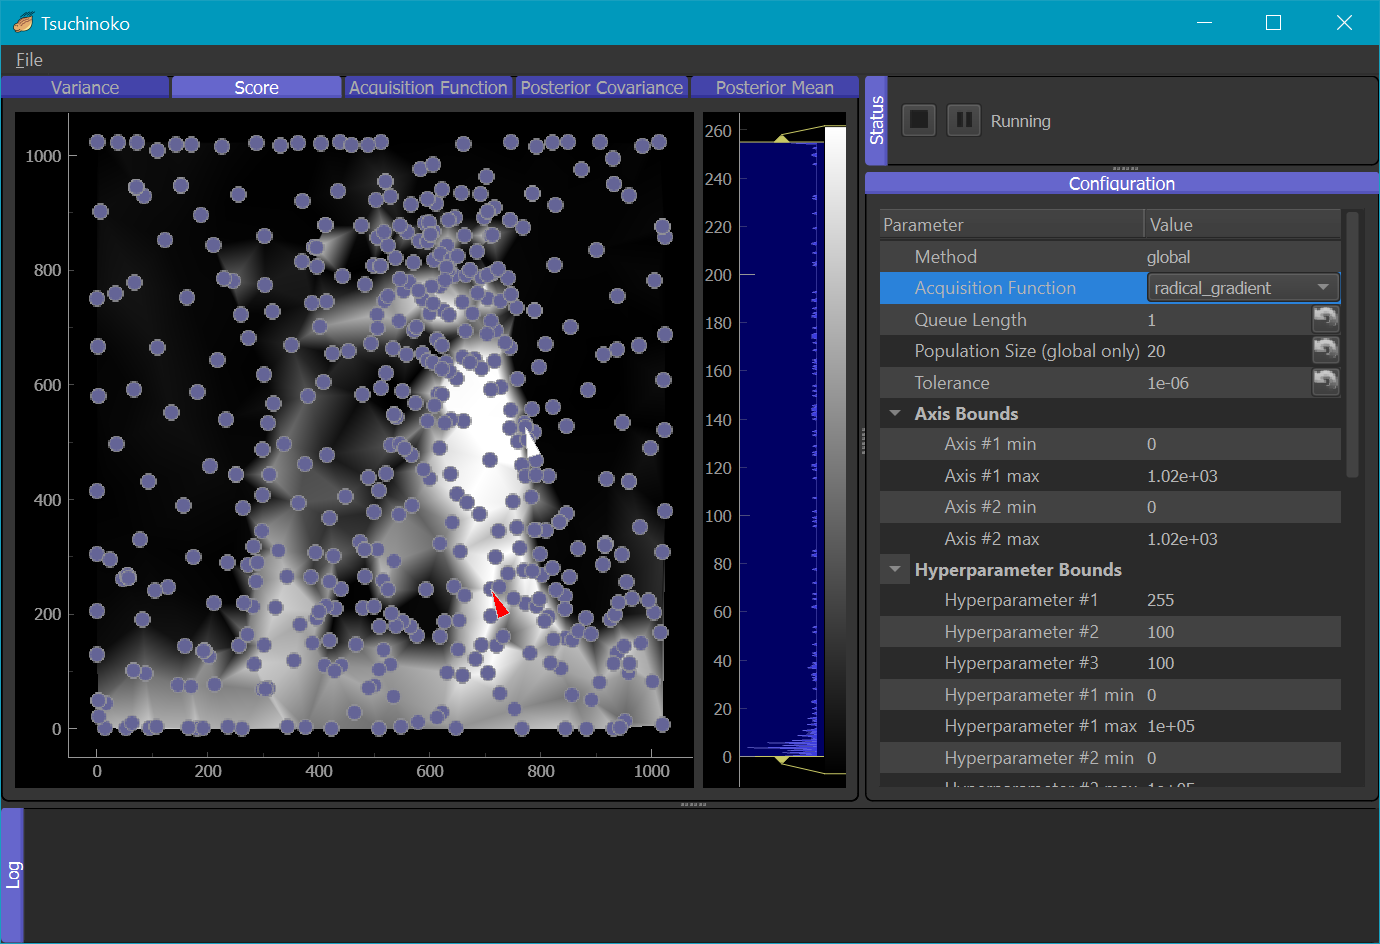
Now have fun!
Experiment with different acquisition functions! Try switching between them while Tsuchinoko is running.
Want to nudge Tsuchinoko in the right direction? Right click in the
ScoreorPosterior Meandisplays and selectQueue Measurement at PointSave your work! You can save the current state of an experiment from File > Save…, or save an image of a display by right-clicking a display and selecting
Export....
Next Steps
Now that you’ve seen Tsuchinoko in action, let’s take a look at the server script that describes the experiment.
Installation Troubleshooting
Some environments may need extra steps to install Tsuchinoko. Solutions are provided for these unusual cases below.